First, I am not that great at designing and creating web-sites, so you'll have to accept the rather low standard of the current layout.
Next a little warning, this project is not a continous development effort. The project has been made available in the hopes that it
may be of interest to others under MIT/X11 licensing. DoctorSwig is the result of my personal experiences with creating a C# wrapper around an unmanaged middleware
application.
I will update the project based on bugfixes and patches, and update the add-in repository as required.
If you discover a bug I would be very pleased if you registered the bug, it will be even better if you can supply a patch.
If you wish to see the traditional Sourcforge web site, in order to access the source code or to register bugs or patches, please follow this link
If you just wish to wish install and use the add-in, there is a repository available
which can be registered with the addin manager of MonoDevelop.
|
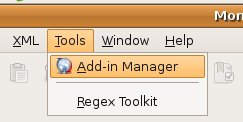
In the Tools menu select "Add-in Manager"
|
|
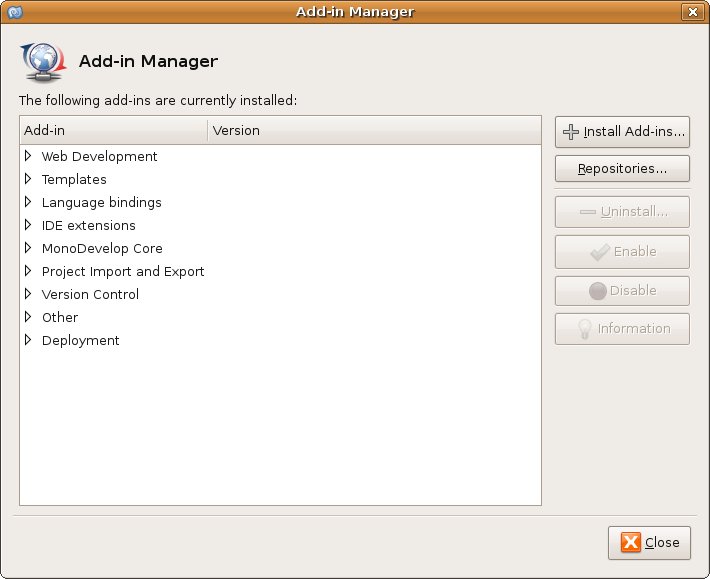
Selecting the "Add-in Manager" will cause the Add-in Manager dialog to be shown, in that dialog, select "Repositories..."
|
|
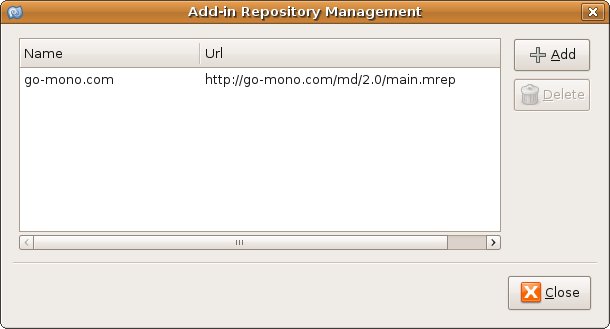
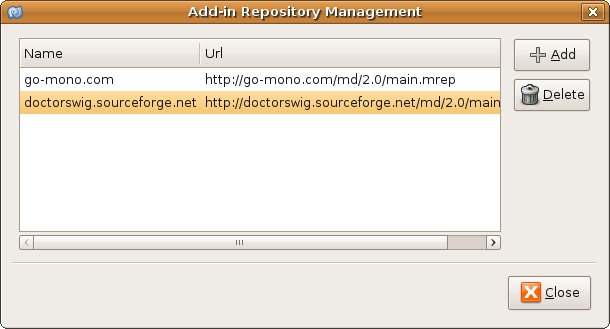
In the "Add-in Repository Management" dialog, click "Add"
|
|
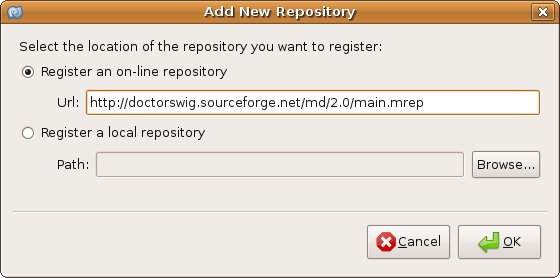
In the "Add New Respository" dialog, type "http://doctorswig.sourceforge.net/md/2.0/main.mrep" and click ok
|
|
A progress bar will be displayed briefly, while the repository is being scanned, and then the add-in mananger should display the list
all known repositories, including the "doctorswig.sourceforge.net" repository.
|
|
Clicking "Close" on the "Add-in Repository Management" dialog, causes MonoDevelop to return control to the "Add-In Manager Dialog"
|
|
|
The registration of the repository should succeed without any issues, if any of the steps fail, you may have to report a bug,
describing what happend.
Once the repository has been added, it is time to perform the actual installation of the add-in, physically transferring the binaries,
and registering the add-in with MonoDevelop.
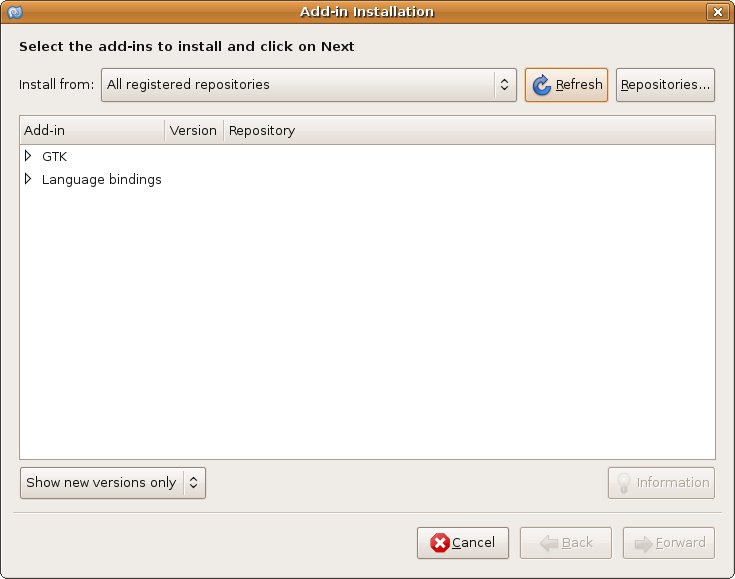
Click on "Install Add-ins...", in order to display the "Add-in Installation" dialog.
|
|
Click "Refresh" for good measure, in order to ensure that the local repository information is up to date.
Then open the "Language binding" section"
|
|
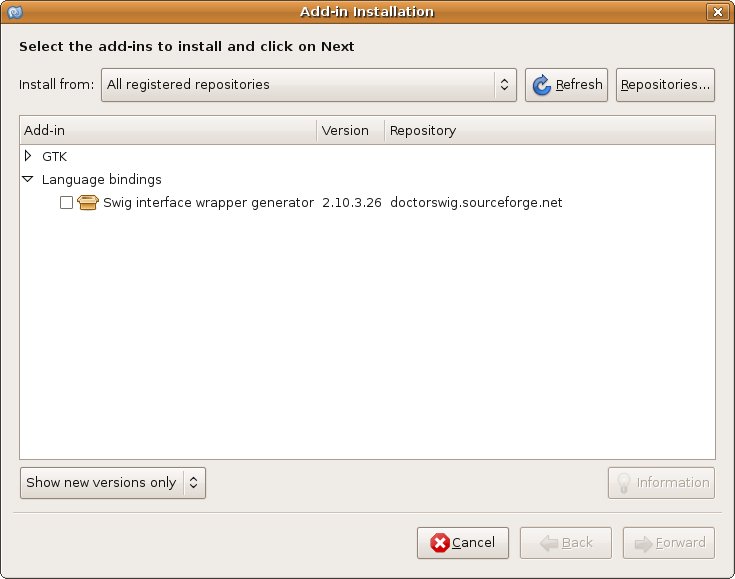
Add a check mark to the "Swig interface wrapper generator" entry in the dialog
|

|
|
When the check mark has been added, MonoDevelop will activate the "Forward" button, and you should click "Forward"
|

|
|
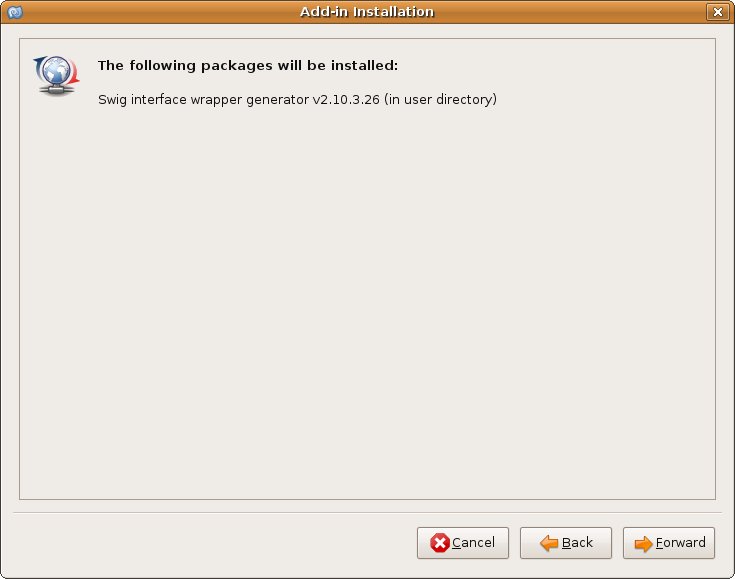
MonoDevelop should respond with a dialog, indicating what packages will be installed, the dialog should look similar
to the one on this page, any entries in red, usually indicates version problems between the swig add-in and MonoDevelop
|
|
MonoDevelop should respond with a success dialog, like the one below, if this step fails, I would like to have some screen shots
along with a bug report outlining the problems.
|

|
Finally click on "Close" in the remaining "Add-in Manager" dialog, in order to complete the installation process.
Congratulations!
Doctor Swig is now installed, and you should now be set to create Swig bindings inside MonoDevelop.
|
|
|
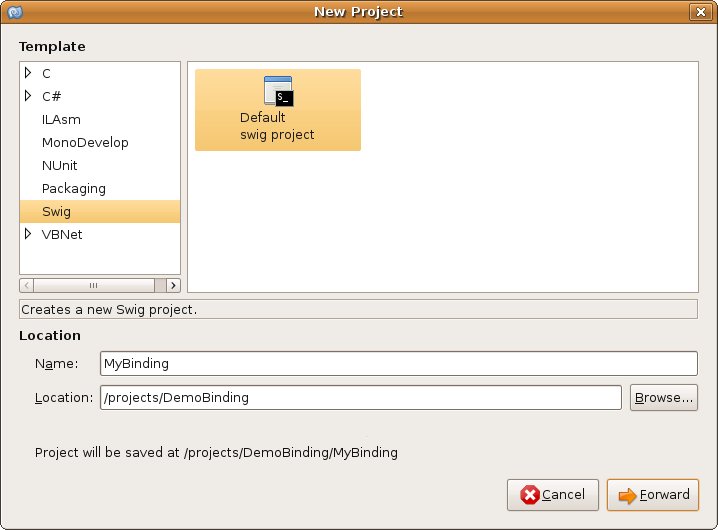
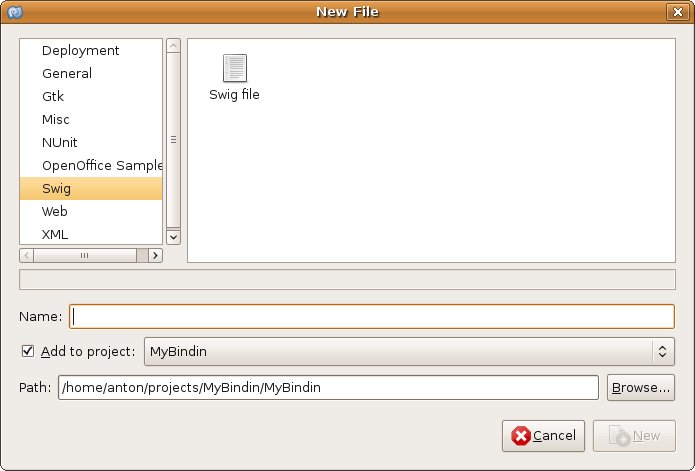
Besides a template for Swig Projects, the add-in also provides extensions for handling .i files, using the "new File..." option.
|
|
|
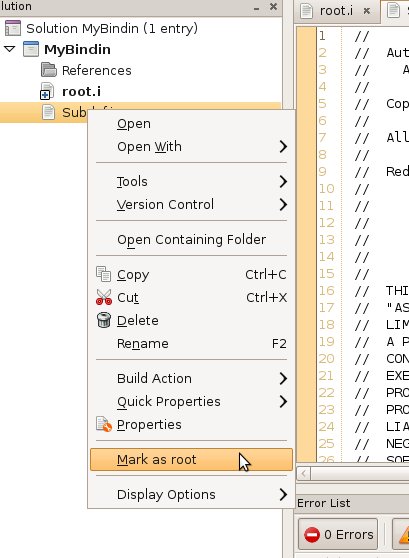
A Swig project consists of a root file, which includes all other interface definition files using either %include or %import, DoctorSwig
offers a context menu, "Mark as root", used to instruct the project binding which binding file to use when performing the build. (Currently
there is a known defect with updating the display, based on the selection, the solution view will not automatically update the view
when a new root is selected.
|
|
|
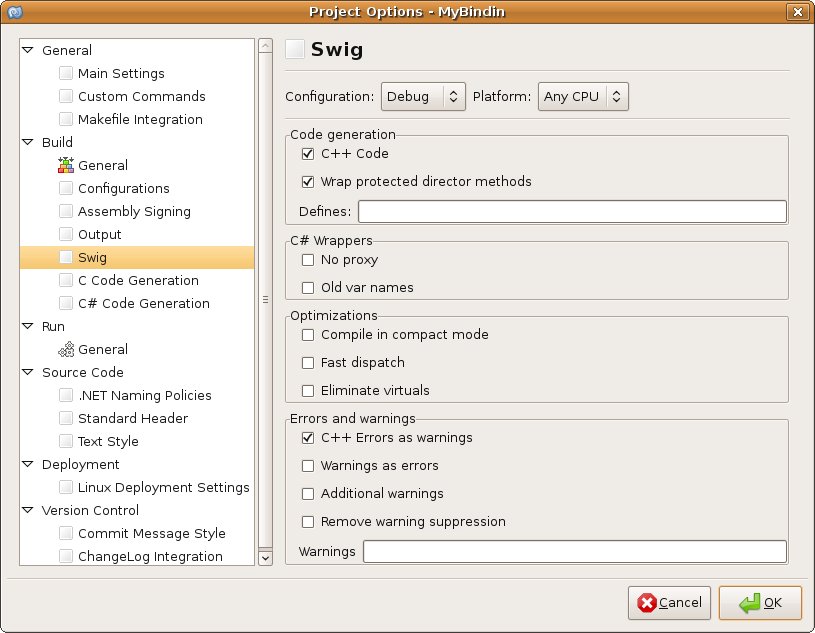
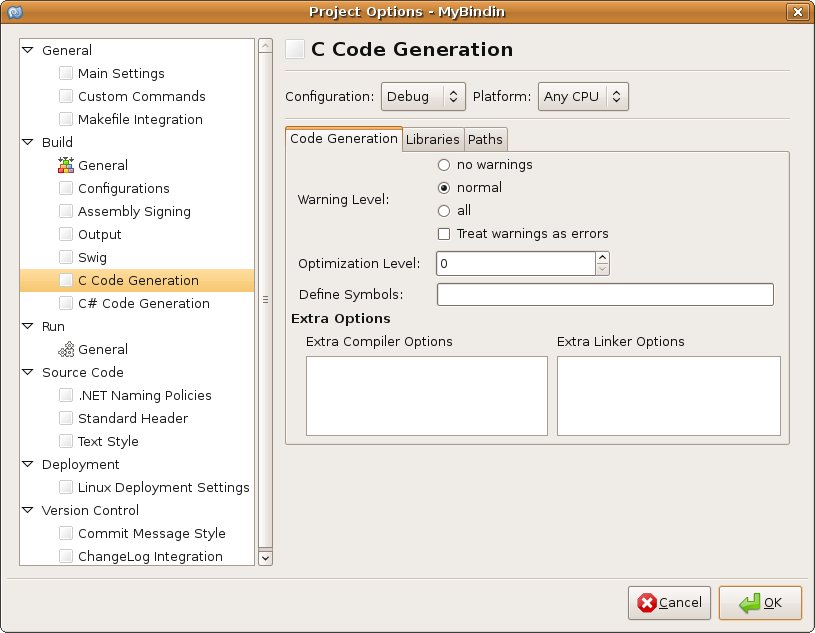
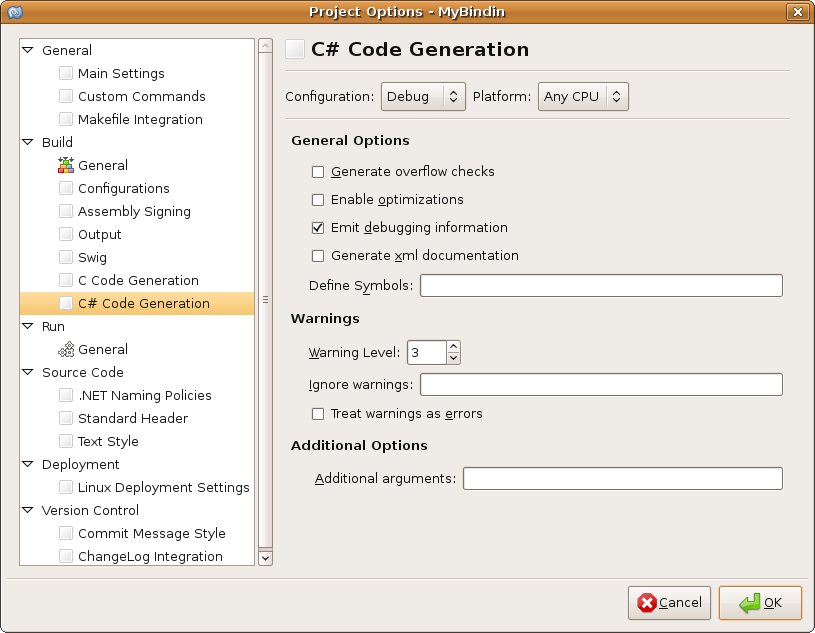
The project options contains three panes for setting parameters for the Swig binding generation step, the C/C++ compile and link step as
well as the C# compilation step.
|
|
|
|
|